Here's another nail post for all you nail lovers out there! Things that you will need to achieve this manicure
- White nail polish
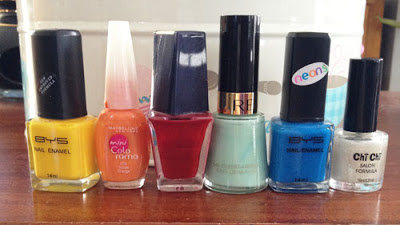
- Multiple colours nail polish (I chose blue, green, yellow, orange and red)
- Make-up sponges
- Cotton buds
- Nail Polish remover
- Top & Base coats
- Glitter top as desired
{All the nail polishes I used except for top & base coats}
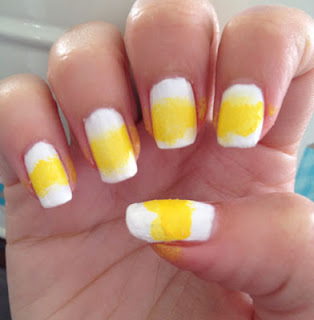
Firstly I started with just a base coat and applied all the colours to the makeup sponge in a line (like the picture below) and pushed it onto my nail but nothing seemed to come off. So I applied a very thick amount of the 5 nailpolish colours and tried again, only to achieve the same results.
I then had a thought "Maybe if I applied white nail polish it would work", it didn't! I have no idea what I was doing wrong and why the polish wasn't going onto my nails in a rainbow pattern. The only colors that seemed to be rubbing off the sponge and onto my nails were the blue and red.
So, I removed all the nail polish and then re applied the white and started all over again. This time I used separate make-up sponges for each of the five colors like the picture below.
Below are the step by step pictures of how I applied each of the colors.
1. Apply white nail polish
2. Apply the yellow with the sponge to the middle of your nail
3. Apply the orange using the sponge toward the tip of your nail
4. Apply the red with the sponge to the tip of your finger.
5. Apply the green with the sponge to the top part of your nail.
6. Apply the blue with the sponge to upper part of your nail but still leave some green.
I decided that a glitter top coat would give my manicure that extra bit of something,
What do you think?


Hi Sami,
ReplyDeleteThanks for visiting my blog. I so love your site. I like that it's not only about the books. :D
New follower.
-Dannielle
Hi Danielle! Thank you for stopping by! Look forward to reading your book reviews :-)
Delete